Introduction:
Discover the world of epoxy resin tables and learn how to craft a stunning, unique piece of furniture for your home. In this comprehensive guide, we'll take you through the process of creating a fascinating epoxy resin table, discussing key tips, necessary materials, and important guidelines. Embrace your creativity and let's embark on this exciting DIY adventure together!
Materials you'll need:
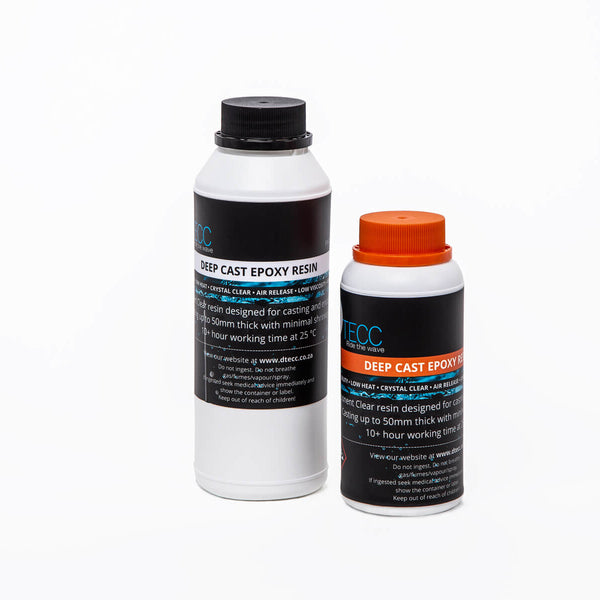
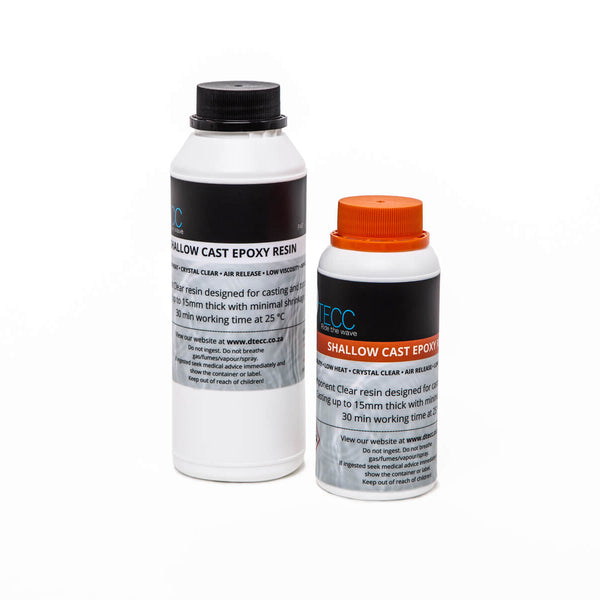
1. Epoxy resin and hardener
2. A wooden slab (as per your desired size for the table)
3. Measuring cups
4. Protective gloves and mask
5. Plastic sheet to protect the workspace
6. Reusable mixing container
7. Mixing sticks
8. Pigment colors (optional)
9. Sealant tape (optional)
10. Leveling tool
Step 1: Preparing the workspace
Choose a well-ventilated area and lay down a plastic sheet to prevent any damage to your workspace floor or surface. As epoxy resin can be messy, it's essential to take necessary precautions before diving into the project.
Step 2: Selecting and preparing the slab
The beauty of an epoxy resin table is in the wood you choose for your base. Select a slab that has interesting patterns and textures to create a visually stunning piece for your table. Sand the wooden slab down until it's smooth, making sure any imperfections are removed. Choose high-quality wood that's dried and free of defects such as knots or cracks. Slabs of wood like walnut, oak, or maple work well for epoxy resin tables. Make sure that the wood is properly seasoned to prevent future warping.
Step 3: Creating a mold
If you want to create an epoxy river table, you'll need to create a mold around the wooden slab using sealant tape that is resistant to chemicals like epoxy resin. Create a mold using melamine sheets that's large enough to accommodate your table design with some extra space. Seal all possible seams using silicone caulk to prevent leakage, ensuring the mold is watertight.
Step 4: Prepare and mix epoxy resin
Refer to the manufacturer’s instructions on how much epoxy resin and hardener you'll need for your specific project size. Wearing protective gloves, accurately measure and mix the two components in a reusable mixing container. Stir slowly to minimize the introduction of air bubbles. Based on your design, choose a suitable color for your epoxy resin by mixing it with pigments or powders. Then mix it well with the hardener following the manufacturer's instructions. It's crucial to maintain the correct ratio of resin to hardener for proper curing.
Step 5: Adding pigment (optional)
To add color or sparkle to your table, mix in pigment powder or liquid colorants into the epoxy resin. Experiment with different colors and styles to create a masterpiece that reflects your personal taste.
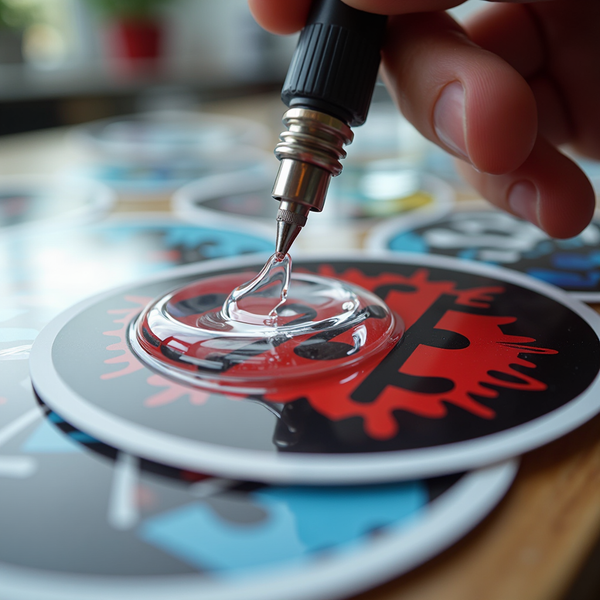
Step 6: Pouring the epoxy
Slowly pour the mixed epoxy resin over your wooden slab, carefully spreading it across the surface. Use a leveling tool to ensure an even coating. If bubbles still appear, you can quickly use a heat gun or torch at a safe distance to remove them. Be cautious not to burn or overheat your epoxy resin. Secure your wood slab inside the prepared mold. Pour an initial thin layer of mixed epoxy resin into the mold over the slab in a consistent manner.
Step 7: Curing process
Allow your epoxy resin table to cure according to the manufacturer's instructions – this can take anywhere from 24 hours up to several days. Do not disturb the project during this time, and keep the area dust-free.
Once the epoxy resin has fully cured, remove it from the mold carefully. Use a pry bar or a similar tool to separate the melamine sheets from the cured epoxy.
Step 9: Sanding (optional)
Begin sanding the surface with 80-grit sandpaper to remove imperfections and gradually progress through higher grits (120, 220, 400 Etc), ending with wet-sanding using 600, 800 through to 5000-grit sandpaper for a smooth finish.
Step 10: Finishing touches
After the curing process is complete, varnish or seal for added protection.