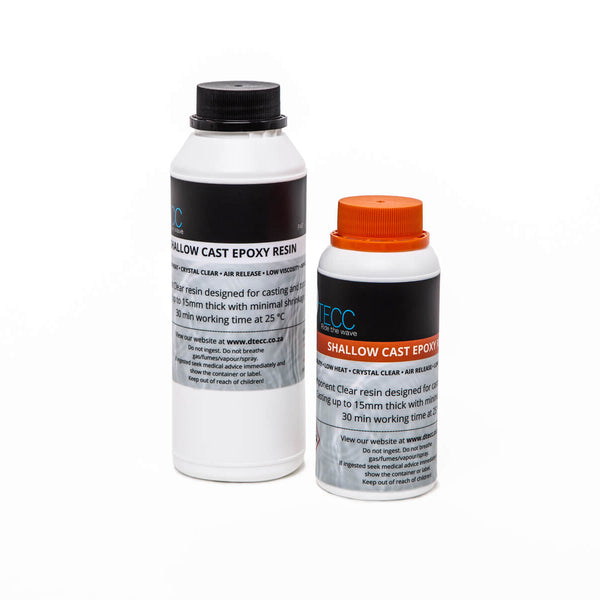
The Beauty and Benefits of Epoxy Resin
Epoxy resin has gained immense popularity in the crafting and DIY community. Its versatility and stunning finish make it a go-to material for a wide range of projects. In this blog post, we will explore what epoxy resin is, its various uses, tips for working with it, a step-by-step tutorial, advantages and disadvantages, and inspiring project ideas.
What is Epoxy Resin?
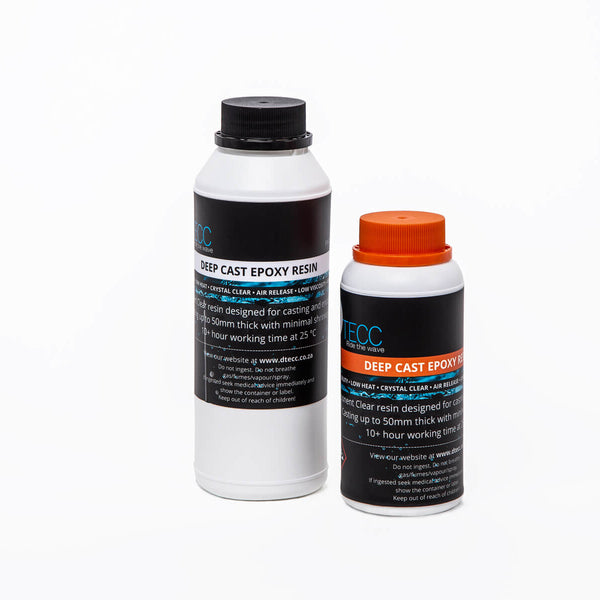
Epoxy resin is a type of synthetic polymer that is created through the reaction of resin and hardener. It is known for its durability and glossy finish, making it ideal for various applications. Epoxy resin is available in both liquid and solid forms, allowing for different uses and techniques.
Uses of Epoxy Resin
There are numerous ways to utilize epoxy resin in creative projects. Here are some popular uses:
1. Resin Art and Jewelry: Epoxy resin can be used to create stunning artwork on canvases or wooden panels. It allows for the incorporation of pigments and dyes to achieve vibrant and unique designs. Additionally, epoxy resin can be used to make beautiful jewelry pieces like pendants and earrings.
2. Tabletops, Countertops, and Bar Tops: Epoxy resin can provide a protective and glossy coating for surfaces like tabletops, countertops, and bar tops. It enhances the aesthetics and durability of the surface while providing resistance to heat, scratches, and stains.
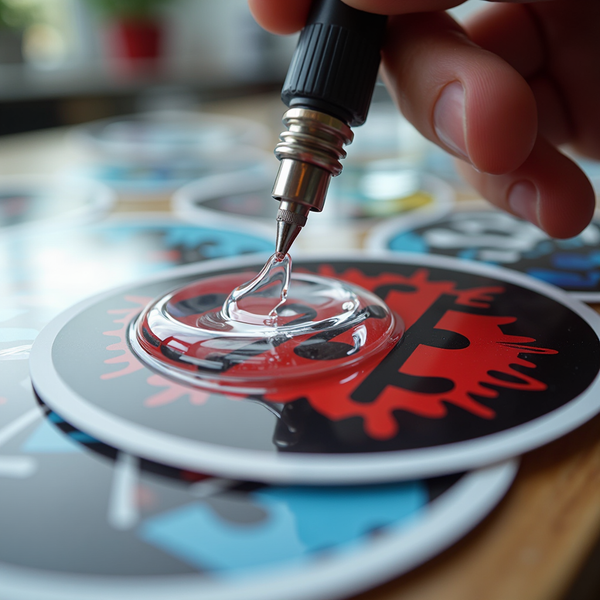
3. Personalized Keychains and Coasters: Epoxy resin can be used to make personalized keychains and coasters by embedding small objects, such as photos, flowers, or trinkets, in the resin.
4. Encasing Objects for Preservation: Epoxy resin can preserve delicate objects, such as flowers, leaves, and insects, by encasing them in a clear resin block or pendant. This technique allows for long-term preservation and display of these objects.
Tips for Working with Epoxy Resin
Working with epoxy resin requires careful attention to detail and proper technique. Here are some useful tips:
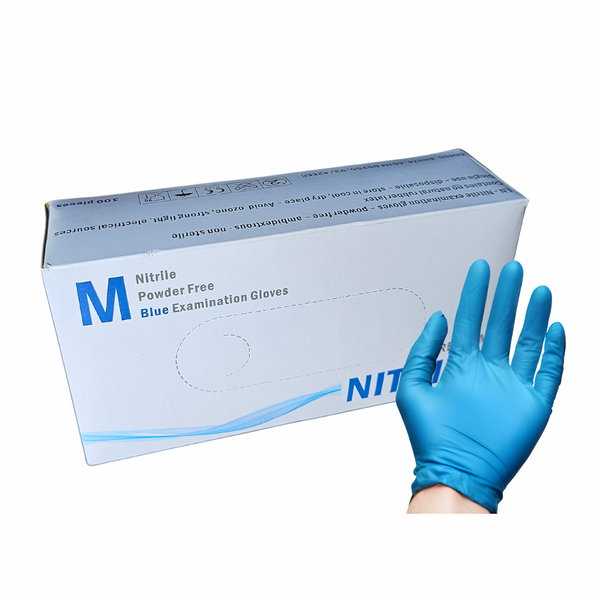
1. Safety First: Always wear protective gear such as gloves, safety glasses, and a respirator when working with epoxy resin, as some resins can emit fumes and may cause skin irritation.
2. Measure Accurately: Follow the manufacturer's instructions and measure the epoxy resin and hardener accurately for the proper mix ratio. A digital scale is always recommended for precise measurements.
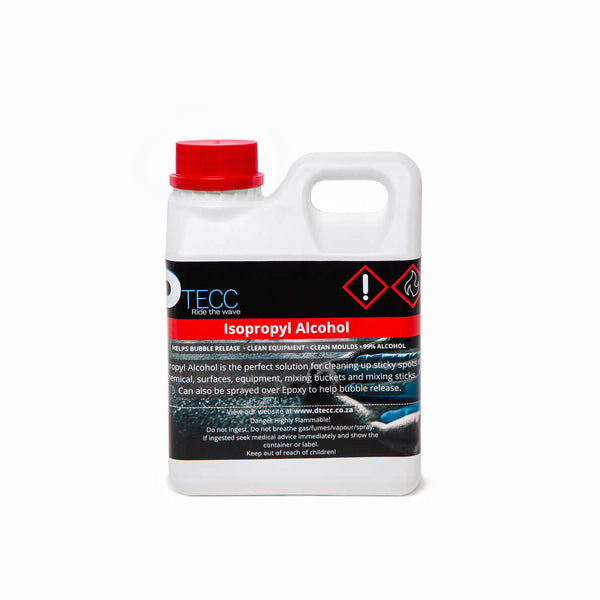
3. Prevent Air Bubbles: To achieve a smooth and bubble-free finish, use a heat gun, torch or IPA (Isopropyl Alcohol) to lightly pass over the surface of the resin to remove any trapped air bubbles.
4. Practice Patience: Epoxy resin takes time to cure properly. Follow the recommended curing time provided by the manufacturer and ensure the workspace is free from dust and debris during the curing process.
Step-by-Step Tutorial: Creating a Resin Art Piece
Let's walk through the process of creating a resin art piece:
1. Gather Materials: You will need epoxy resin, hardener, a mixing container, pigments or dyes, a canvas, stirring sticks, gloves, and a heat gun or torch.
2. Prepare the Workspace: Ensure your workspace is clean, well-ventilated, and free from dust and debris. IPA (Isopropyl Alcohol) can be a great way to disinfect and ensure a clean surface. Protect the surface with a plastic or silicone mat.
3. Mix the Resin: Follow the manufacturer's instructions to mix the resin and hardener in the proper ratio. Stir the mixture thoroughly, scraping the sides and bottom of the container to ensure a proper mix.
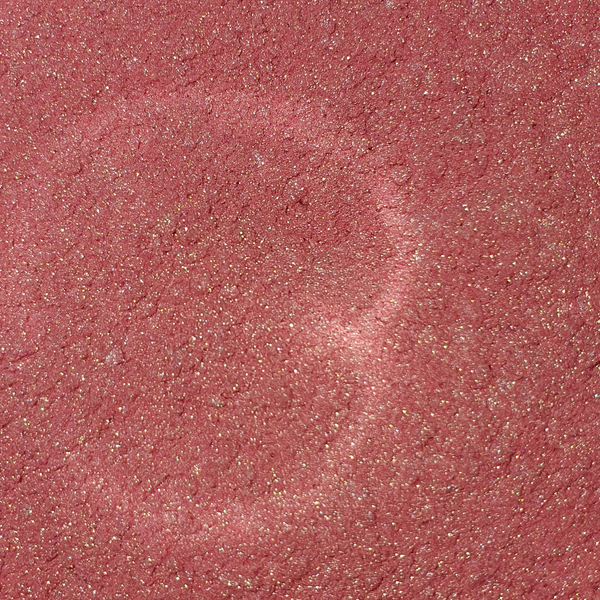
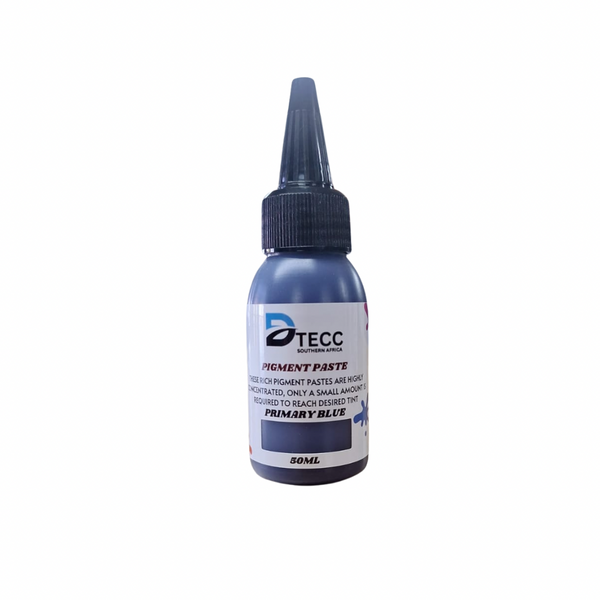
4. Adding Pigments/Dyes: If desired, add pigments or dyes to the resin to create your desired colors. Stir well to incorporate the color evenly.
5. Pour and Spread: Pour the resin mixture onto the canvas in desired patterns or designs. Use a stirring stick or a heat-resistant spatula to spread and manipulate the resin to achieve the desired effect.
6. Removing Air Bubbles: Pass a heat gun or torch over the surface of the resin to remove any trapped air bubbles. Move the heat source quickly and at a safe distance to avoid scorching or burning the resin.
7. Curing and Finishing: Allow the resin to cure according to the manufacturer's instructions. Once fully cured, you can add additional layers, apply a varnish for added protection, or attach hanging hardware if desired.
Advantages and Disadvantages of Epoxy Resin
Like any material, epoxy resin has its own advantages and disadvantages:
Advantages:
* Highly durable and resistant to scratches and impact.
* Provides a glossy and professional finish.
* Allows for customization with pigments or dyes.
* Can be used in various applications, from art to functional items.
Disadvantages:
* Longer curing time compared to other materials.
* Some resins can yellow or become discolored over time, especially when exposed to sunlight.
* Requires careful handling and proper safety precautions.
Inspiring Epoxy Resin Projects
Here are some project ideas to inspire your creativity:
1. Geode-Inspired Resin Art: Create a stunning geode-inspired resin art piece with vibrant colors and sparkling crystals.
2. Ocean-Inspired Resin Tray: Design a resin tray with swirling hues of blues and greens, resembling the ocean waves.
3. Resin-Coated Wood Furniture: Give new life to old wooden furniture by applying a glossy resin coat for a modern and sleek look.
4. Resin Pendant with Real Flowers: Preserve delicate flowers from a special occasion by encasing them in a resin pendant.
Remember, the possibilities with epoxy resin are endless. Let your imagination run wild and explore the beauty and versatility of this incredible material!
Conclusion
Epoxy resin is a captivating material that allows artists and crafters to bring their creative visions to life. Whether you're creating resin art, coating surfaces, or preserving special objects, epoxy resin offers a wide range of benefits. By following proper techniques and safety precautions, you can unleash your creativity and produce stunning epoxy resin projects. Happy crafting!We hope this comprehensive blog post helps you learn more about epoxy resin and inspires you to create your own masterpieces. If you have any questions or project ideas, feel free to share them with us in the comments section below!

